How to Pack for Climbing Kilimanjaro
If you’re climbing Kilimanjaro, you’ve likely done some hiking before, and possibly even have backpacking experience, although neither of these are truly required to make it to the top. What does matter is that you prepare properly and have a good idea of what to expect. While being in good shape and having backpacking experience are handy, they also have their drawbacks.
Fitness is essential. You’ll be walking all day for 5-9 days, and your body will be taking a lot of punishment over the course of consistent major altitude changes. But don’t think that pumping weights and running marathons will be helpful on Kili. Pole, pole – slowly, slowly. You’ll hear this from your guides so often that it may get on your nerves, but a slow pace and both physical and mental endurance are what are going to get you up the mountain.
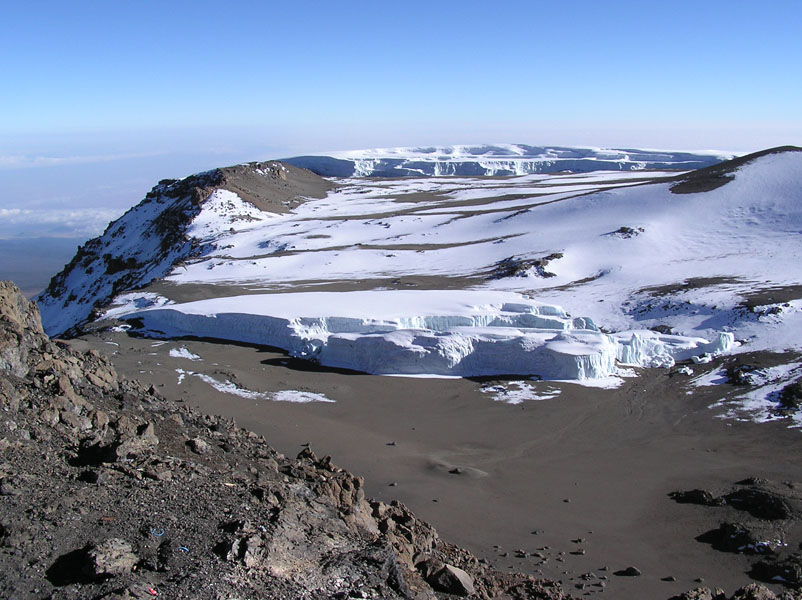
The reason that backpacking experience can be a drawback is that climbing Kilimanjaro is almost certainly an entirely different experience than anything you’ve ever done. Firstly, you’re not ‘climbing’ the mountain, per se. You go up in altitude, certainly, all the way to 19,341 feet at Uhuru Peak, but it’s not a technical climb, like you might picture daredevils scaling sheer cliffs doing. Kili is a hike – a long one, and a demanding one, but a hike, nonetheless.
You may now be thinking that it sounds more like a pretty standard backpacking trip at altitude, and again, you’d be wrong. Unlike backing in the Rockies or the Sierra Nevada’s, you’ll have porters and guides assisting you on your journey. The guides do more than point the way – they also understand the unique hazards that Kili presents, including weather, dangerous geography, and altitude sickness in its various forms. The porters, who will likely make up the bulk of your party, will be carrying 90% of your stuff up the mountain. Tents, sleeping bags, backpacks, cooking gear, food… the lot. You’re likely to only see your main bag during stops for meals (with some tour operators) and when making camp.
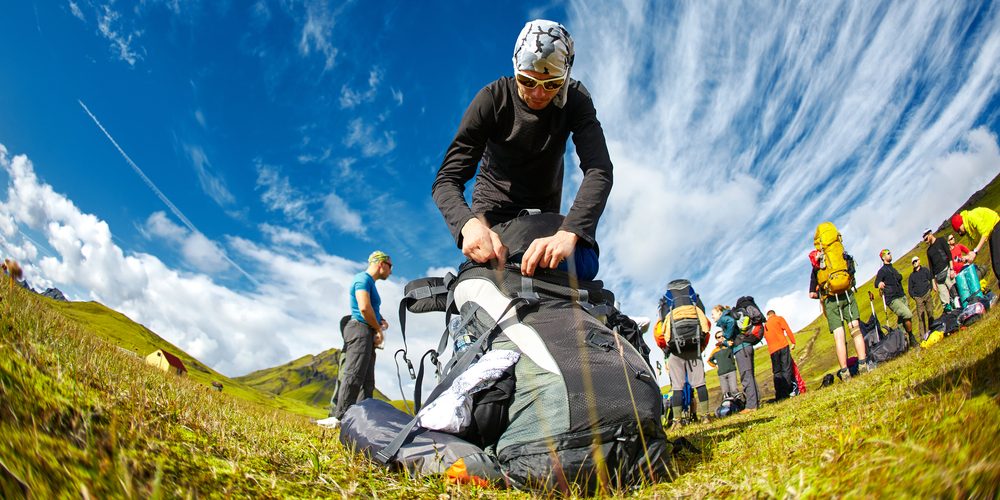
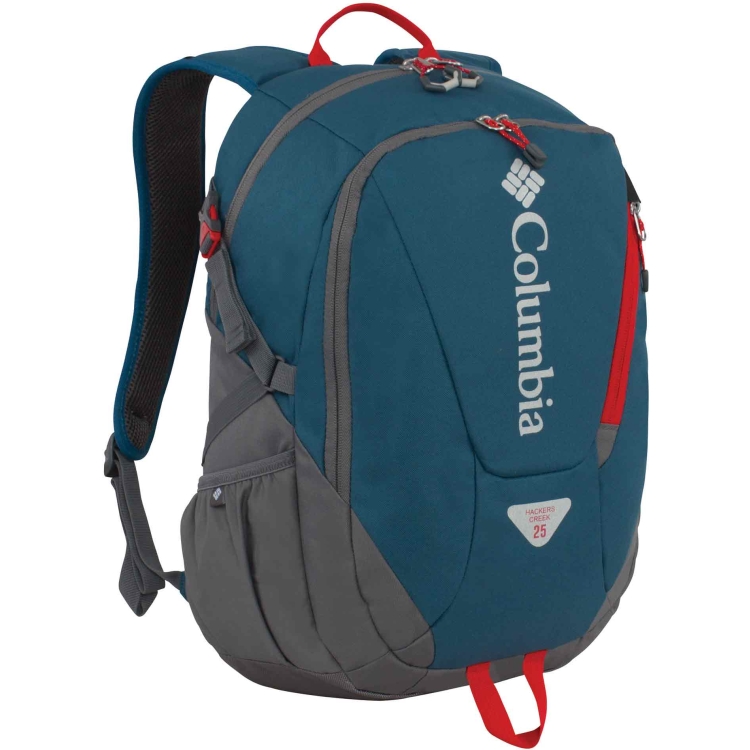
This means that, unlike a normal backpacking trip where you’d have all of your items with you at all times, you’ll need to pack both a ‘main bag’ and a separate ‘daypack.’ Your main bag can be a duffel bag or a backpack (either one works just fine), and should be somewhere in the range of 75-90 liters, and shouldn’t have wheels or hard sides, like normal luggage cases that you’d take on an airplane. Also make sure that it doesn’t weigh more than 33 lbs. The good news is that you don’t have to worry about waterproofing your main bag, because it should be going inside another bag that is waterproofed, but it’s a good idea to bring a rain cover for your backpack, in case a porter decides to wear it during the hike.

As for your daypack, here is a short list of the items that several tour operators and former climbers recommend bringing along:
- First aid kit – bandages, moleskin, topical antibiotic, any prescription meds, etc.
- Snacks
- Sunglasses
- Hat
- Camera and accessories – batteries, memory cards
- 2-3 liters of water in water-bottles and/or a Camelback
- Lip balm
- Sunscreen
- Rain gear (can’t stress the importance of this)
- Hiking poles
- Extra fleece jacket/clothing layers for temperature drops
- Toilet paper
- Money (keep tips in mind!)
- Passport
Of course, this isn’t an all-encompassing gear list. Your tour operator should provide you with plenty of information on what to bring and what you can rent from them, but doing your research ahead of time is always a good idea. You may want a book to read in camp, or perhaps you know that dirt under your nails gets on your nerves something fierce (and there will be plenty of dirt), so you may want to consider a nail brush. There are tons of little extras that you should consider, but remember that the keyword there is ‘consider.’ Don’t make the mistake of bringing the kitchen sink – just make sure you’ve got what you need. Also remember that the above list was specifically for daypacks. You’re obviously going to need a lot more than that for your trip, but again, your tour operator should be giving you advice and guidance on that front.
As far as the physical packing of your daypack goes, there are two key things to remember: weight distribution and organization. You’ll want to put the heaviest stuff (aside from the water, which you need easy access to) on the bottom the bag and closest to your back – you don’t want a top-heavy bag that throws you off-balance all the time. Try to pack everything else evenly around the heavy stuff, and you should be good to go. Organization is fairly straight-forward – use lots (seriously, lots) of Ziploc bags, garbage bags, etc., to keep similar items grouped together. It’s so much easier to find the right grouping of items in their own bag than it is to root around in your pack for that one tiny thing you need that’s floating around in there somewhere.
Once again, the importance of preparation can’t be stressed enough. Do your research. Read accounts of people who’ve gone before you. Read all of the information your tour operator gives you. And be absolutely sure to ask any questions you may have, no matter how small or stupid you may think they are, before getting to Moshi and heading to Kili. You want to have a good trip and your crew wants to help you do so – help them help you by arriving with both the knowledge and gear that you’ll need to get you to the peak and back.