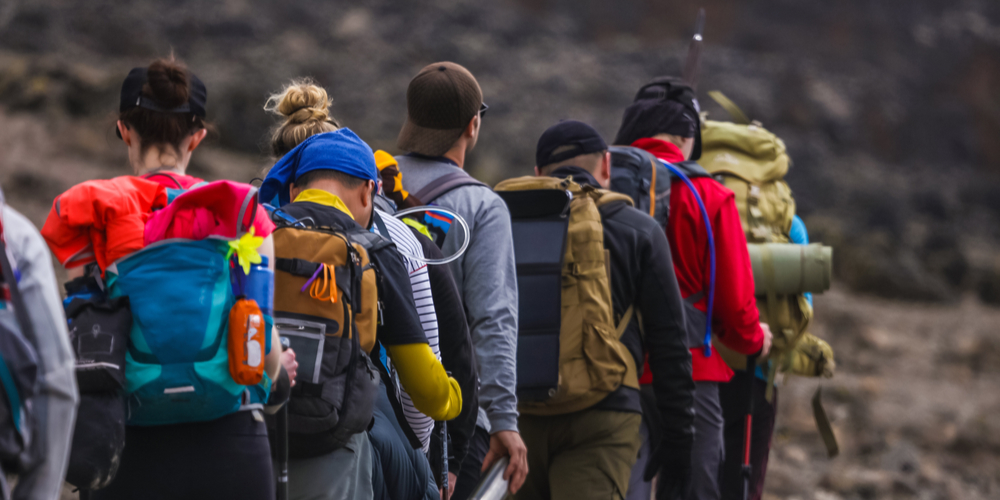
Kilimanjaro Gear & Equipment
Gear is very important. While your operator should provide some things, such as tents and maybe sleeping pads, most of it will be on you. You don’t want to show up inadequately outfitted on the climb or you will risk having to come down simply because you were not warm enough.
Kilimanjaro Hiking Clothing
Climbing Kilimanjaro is a unique experience; temperatures can range from +30 degrees in the rainforest, to -25 degrees at the summit. You will also walk through 5 different climate zones in as many days and you must have all the clothing that you will require to cope with these extremes.
The key to success on Kilimanjaro is layers…the easiest way to keep cool, warm, dry and comfortable on the mountain is by adopting the layering principal. By taking light weight thinner layers, as opposed to thick heavy layers you will be able to adjust your clothing as required to keep you as comfortable as possible on the mountain.
There are 3 main layers that you should consider;
- Base layer – provides comfort by keeping the skin dry.
- Mid layer – provides warmth.
- Shell layer – protects from wind and water.
Base Layer

The base layer is a close fitting layer next to the skin that will draw sweat away from the skin. This will make you feel warmer and keep you more comfortable on the move.
Synthetic materials such as polyester and microfiber-based fabrics are ideal as they do not absorb moisture but transfer it well.
Bamboo made base layers are also an excellent choice but they can be expensive.
Cotton is a cheap option and will feel comfortable when dry, but will absorb moisture easily and will be slow to dry out, especially in cold conditions.
Mid Layer
The mid layer’s main purpose is to provide insulation in colder conditions. For extreme temperatures, multiple thin mid layers can be worn rather than one thicker layer. The mid layer should be loose-fitting enough to allow insulating air between the layers.
Wool is the traditional mid layer material as it provides good insulation even when wet.
Fleece or other synthetics has similar properties to wool, but is lighter. It provides good insulation even when wet, absorbs very little moisture and dries quickly.
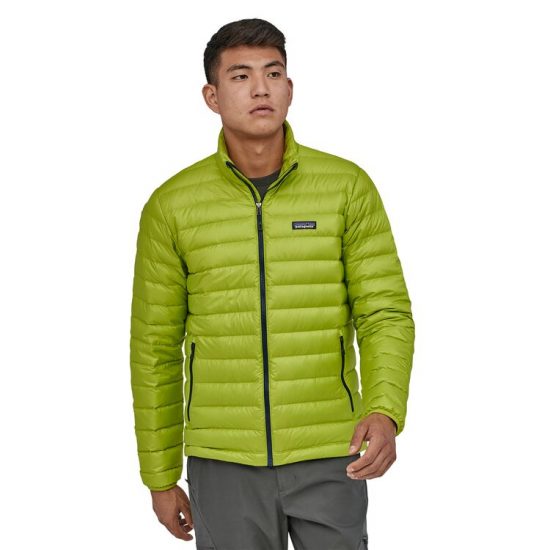
Down has a very good warmth-weight ratio and can be packed down to take up very little room. The downside’s are that it is more expensive and loses its insulating properties when wet or compressed.
Synthetic Fiberfill such as polyester fiber is used similarly to down, but does not have as good a warmth-weight ratio. However, it is less expensive and provides good insulation even when wet.
Shell Layer
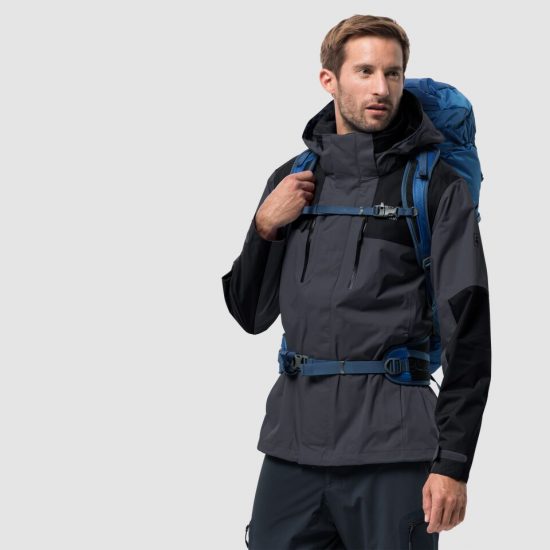
The outermost clothing layer is called the shell layer; the main purpose is to provide protection from wind and rain. The shell layer should also be breathable, allowing moisture to pass through to the outside, while keeping the elements out.
Plastic raincoats will protect from the wind and rain, but are not breathable. To compensate, these types of raincoats will have flap-covered holes and are very loose-fitting to allow air circulation.
Hard shell materials are waterproof and are breathable. Their essential element is a thin, porous membrane that blocks liquid from entering the garment, but will allow water vapor (evaporated sweat) through the material. Typically, the more expensive the material the more breathable they are. The best-known brand of this type is Gore-Tex.
A water resistant (soft shell) material will only partially block water, but they are usually more breathable, comfortable and cheaper than completely waterproof materials.
Suggested Clothing List
1 – Waterproof Jacket, breathable with hood
1 – Insulated Jacket, synthetic or down
1 – Soft Jacket, fleece or soft-shell
2 – Long Sleeve Shirt, light-weight, moisture-wicking fabric
1 – Short Sleeve Shirt, light-weight, moisture-wicking fabric
1 – Waterproof Trousers, breathable (side-zipper recommended)
2 – Hiking Pants
1 – Fleece Pants
1 – Shorts (optional)
1 – Long Underwear (moisture-wicking fabric recommended)
3 – Underwear, briefs (moisture-wicking fabric recommended)
3 – Sport Bra (women)
Head-wear
1 – Brimmed Hat, for sun protection
1 – Knit Hat, for warmth
1 – Balaclava, for face coverage
Footwear
1 – Hiking Boots, warm, waterproof, broken-in
1 – Trainers to wear at camp* 3 – Socks, synthetic or wool
1 – Gaiters, waterproof *
Hand-wear
1 – Gloves, warm (waterproof recommended)
1 – Glove Liners, thin, synthetic, worn under gloves for added warmth*
Most Kilimanjaro operators generally require that their clients supply their own personal gear for the climb. Operators typically provide the tents (personal tent and a mess tent for dining), cookware (stove, gas, plates, utensils, pans), furniture (chairs and tables for dining), first aid kits, and food and water.
Equipment Required
Although climbing Kilimanjaro doesn’t require any technical equipment, this vast range of temperature’s and changing weather conditions will require careful planning to ensure you are prepared for all conditions. How do you decide what to take? And how do you keep your kit bag under 15Kg? Hopefully I can answer these and many other questions that you may have.
The list below is a realistic equipment list of what you could expect that you’ll need during your trek on Kilimanjaro.
However, this is only a guide and you may wish to add your own items, just remember porters only carry a maximum of 15kg.
1 – Sunglasses
1 – Rucksack Cover, waterproof (optional)
1 – Water Bottle (Nalgene, 32 oz. approx. 1L recommended)
1 – Water Bladder, 1L platypus type (optional, in addition to water bottle)
1 – Towel, lightweight, quick-dry (optional)
1 – Sleeping Bag, four seasons
1 – Sleeping Bag Liner, for added warmth (optional)
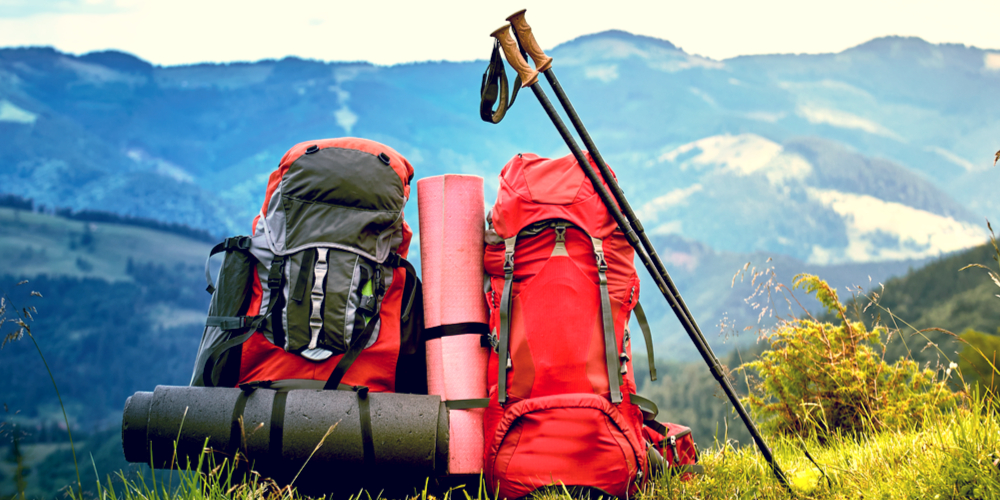
1 – Sleeping Pad, self-inflating or closed-cell foam
1 – Trekking Poles (highly recommended)
1 – Head lamp, with extra batteries
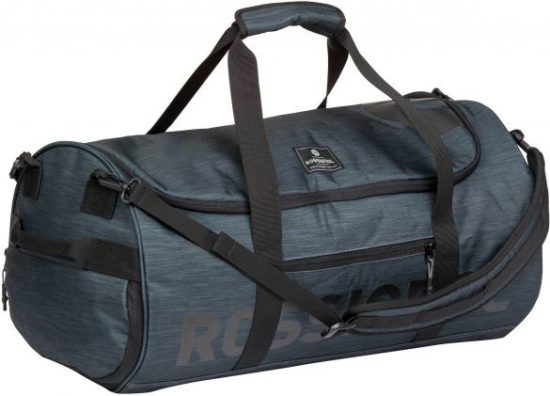
1 – Kit Bag (waterproof), for porters to carry your clothing & equipment
1 – Rucksack, for you to carry your personal gear
Toiletries
Prescriptions
Lip Balm with sun factor
Toilet Paper
Snacks, light-weight, high calorie, high energy (optional)
Powder energy drink (optional)
Water purification (optional)
Pencil and Notebook, for trip log (optional)
Camera, with spare batteries and memory card’s (optional)
Although the guides carry a medical kit on Kilimanjaro you should consider taking a personal first aid kit with essentials such as:
- Ibuprofen/Nurofen
- Immodium
- Diaorylite
- Blister plasters
- Elasoplast
- Antiseptic cream
- Gauze
- Bandage
- Scissors
- Insect repellent (containing DEET)
- Sun screen (minimum factor 30)
- Talcum powder
- Baby wipes
- Hand sanitizer
- Equipment
Equipment Provided
The main equipment required for living on the mountain will be provided for you and is included in the price of your Kilimanjaro trek:
- Tent – 4 season, 3 man tents – per 2 people. This will give you ample room to sleep and have all of your kit in the tents.
- Mess tent – a large canvas tent is provided to eat your morning and evening meals in.
- Table and chairs – so you’re not sitting on the ground.
- Eating utensils – cups, plates, knife, fork spoon etc.
- Cooking equipment – the cook will bring all his pots and pans to prepare your fresh food.
- Toilet tent – depending on which operator you go with, some take their own toilet per group so you don’t have to dread the long drop.
Once you have your kit assembled, try to take it out into the wilderness and give your clothing and equipment a test run. You don’t want to realize in the middle of your Kilimanjaro expedition that your jacket doesn’t fit well or your rucksack is uncomfortable.